How To Draw & Paint Cars
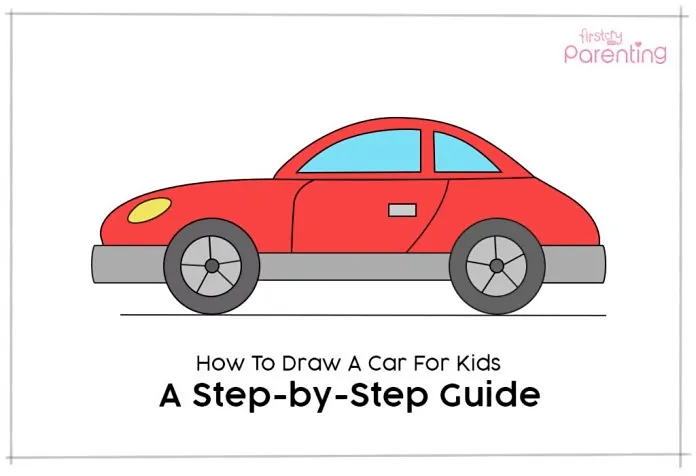
- Video: How to Draw a Car – An Easy Step by Step Guide for Kids
- What You Will Need for Drawing a Car
- Car Drawing for Kids in 10 Easy Steps
- Step 1: Draw a Horizontal Line and Two Circles Over It
- Step 2: Draw Smaller Circles Inside the Wheels
- Step 3: Draw the Third Set of Circles Inside the Wheels
- Step 4: Draw Lines From the Innermost Circle Till the Second Circle
- Step 5: Connect the Wheels With Two Horizontal Lines
- Step 6: Draw Two Rectangles on Either Side of the Wheels
- Step 7: Draw the Body of the Car
- Step 8: Draw the Car Door and the Headlight
- Step 9: Draw the Windows With Two Quadrants
- Step 10: Paint It On!
Last Updated on
Cars are one of the most loved toys among kids. If you've seen them play with their cars, you'd know how fascinating their journeys are when they go vrooming all around the house. And, why just play with toy cars? Your kids could even draw and paint them in vibrant colours.
Video: How to Draw a Car – An Easy Step by Step Guide for Kids
Wondering how you could make drawing a car simple for your kid? Here's a step-by-step guide on drawing cars.
What You Will Need for Drawing a Car
- An A4 size plain drawing paper
- A pencil
- An eraser
- A scale
- Colours (crayons, watercolour, or sketch pens)
Car Drawing for Kids in 10 Easy Steps
Step 1: Draw a Horizontal Line and Two Circles Over It
Using a scale, draw a horizontal line on the bottom half of the A4 sized drawing paper. Then draw two circles over the line, as shown in the figure. These circles are the wheels that will take you places!

Step 2: Draw Smaller Circles Inside the Wheels
Now, draw another circle on the inside of the car wheels, as shown in the figure below. This is what we call the barrel of the wheel.

Step 3: Draw the Third Set of Circles Inside the Wheels
Draw a small circle in the centre of each wheel. Your drawing might look like scary eyes right now, but trust me, it is your car. We're just making it simple for you. These little circles, by the way, are the centre caps.

Step 4: Draw Lines From the Innermost Circle Till the Second Circle
On each wheel, now draw five equidistant lines starting from the innermost circle and ending at the second circle. These lines are the spokes of the wheels. You may choose to use your scale to draw these lines or go freehand.

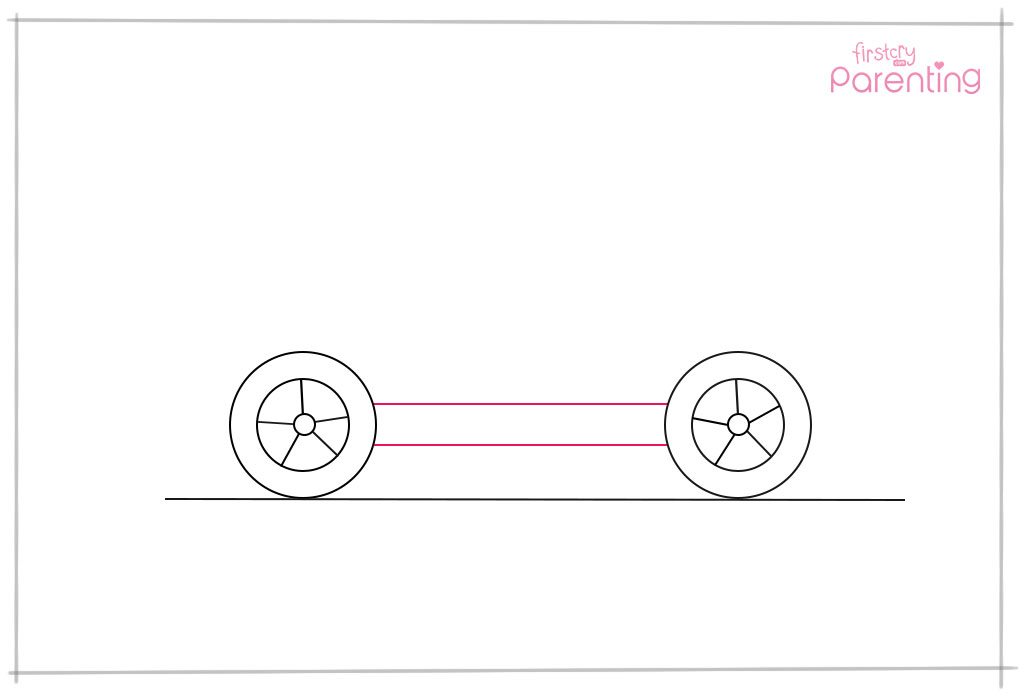
Step 5: Connect the Wheels With Two Horizontal Lines
Now connect the wheels with two horizontal lines. You can use your scale here as well. These lines form the base of the car. Before we proceed, is it just us or does the drawing look like a pair of glasses on a pair of eyes?
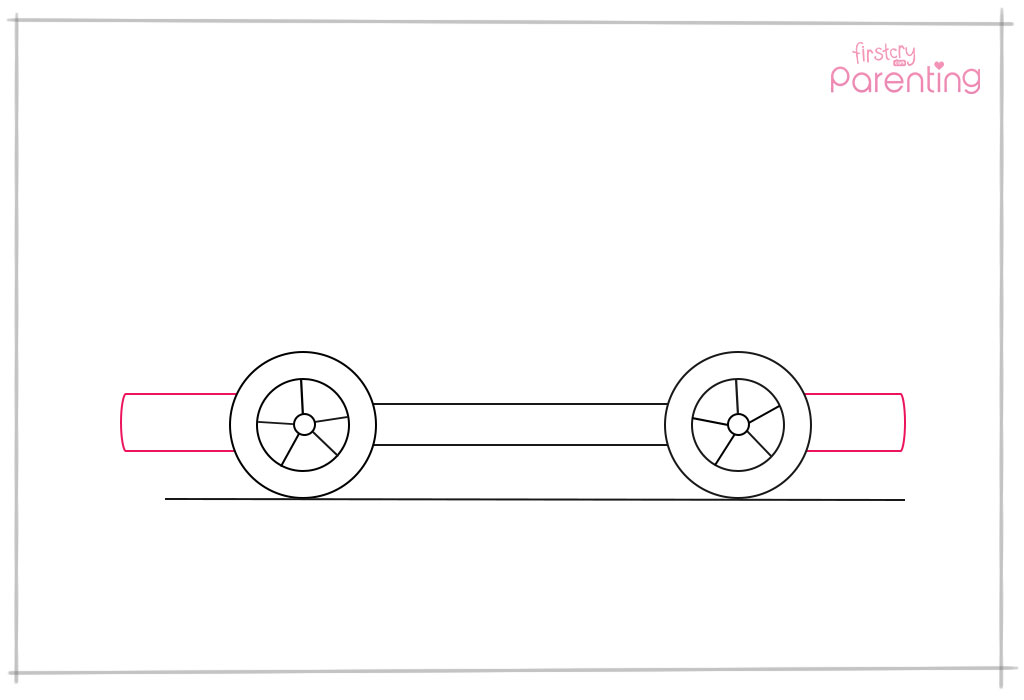
Step 6: Draw Two Rectangles on Either Side of the Wheels
Now, on either side of the wheels, draw two rectangles extending away from each other, as shown in the figure below.
Step 7: Draw the Body of the Car
To make this part of the drawing simple, we'll break it down in three steps –
- First, from the left-hand side of the drawing paper, and from above the rectangle, draw a curved line that stops just above the end of the wheel on the right-hand side. The front portion of this curve will be the hood of your car.
- Then, to connect the rear of the car, draw another curved line from the end of the rectangle on the right-hand side till the point where the first line stops. This part is the trunk of your car.
- Now, draw a semi-circle on the top, starting from the point where the first two curved lines met till the end of the first wheel. Voila! You just drew the windshield and the roof of the car!

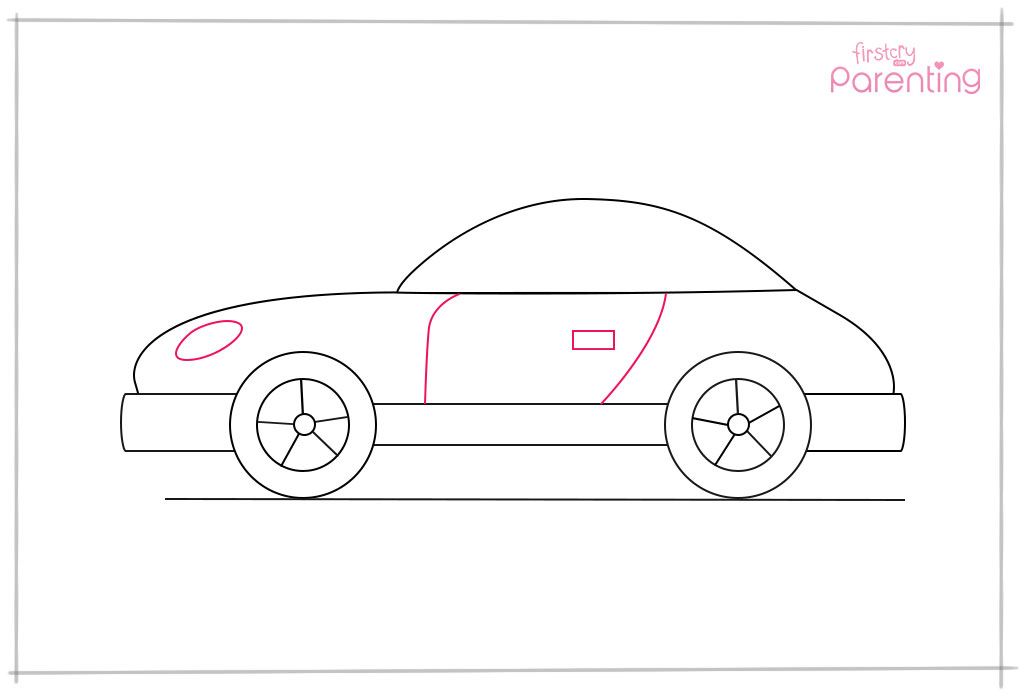
Step 8: Draw the Car Door and the Headlight
Now, let's add a car door and a headlight. For this step, you have to draw two slightly curved lines in the centre portion of the car, as shown in the figure below. Add a small rectangle near the second line for the handle. This completes your car door!
Drawing the headlight of the car is even more simple! Just draw an oval on the hood of the car (the curve on the extreme left of your drawing paper).
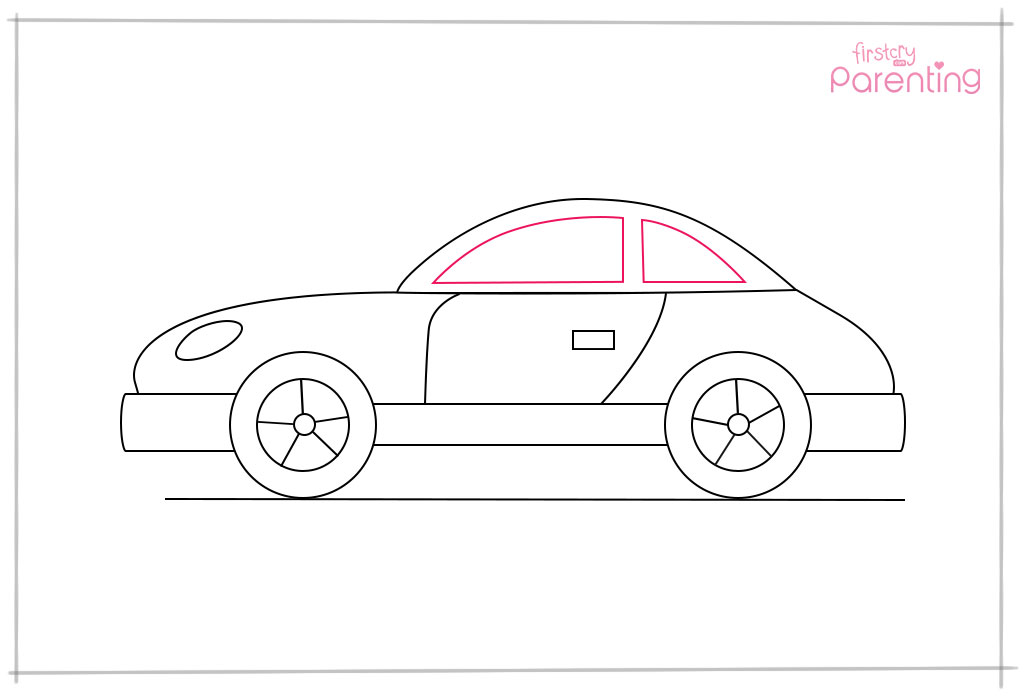
Step 9: Draw the Windows With Two Quadrants
Now, draw two quadrants, one big and one small to make the windows of your car. You can use your scale to get the lines straight, but it's not required. Just make them look like the car windows given in the image below.
Step 10: Paint It On!
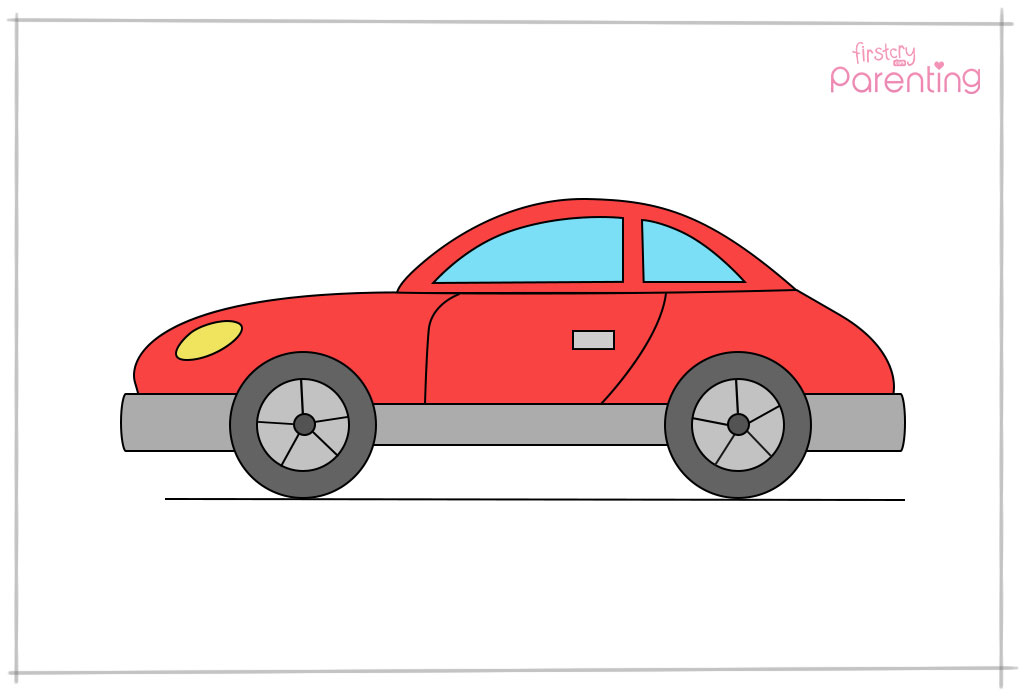
Wow! Your car has really come together well! Now all that's remaining is to gather your favourite colours and paint that car!
With this easy guide on how to draw a car step-by-step for kids, you can add another dimension into your kid's life. Won't you be the cool parent when you participate and use these simple steps for drawing another car along with your kid? Encourage your little one to go crazy with the colours, abstract with the spokes, or even redesign the complete car. Let them know that when it comes to his/her abilities, the sky is the limit!
Also Read:
How To Teach Kids To Draw
How to Draw a Lion for Kids
How to Draw a Butterfly for Kids
How To Draw & Paint Cars
Source: https://parenting.firstcry.com/articles/how-to-draw-a-car-for-kids/
Posted by: youngallind.blogspot.com

0 Response to "How To Draw & Paint Cars"
Post a Comment